
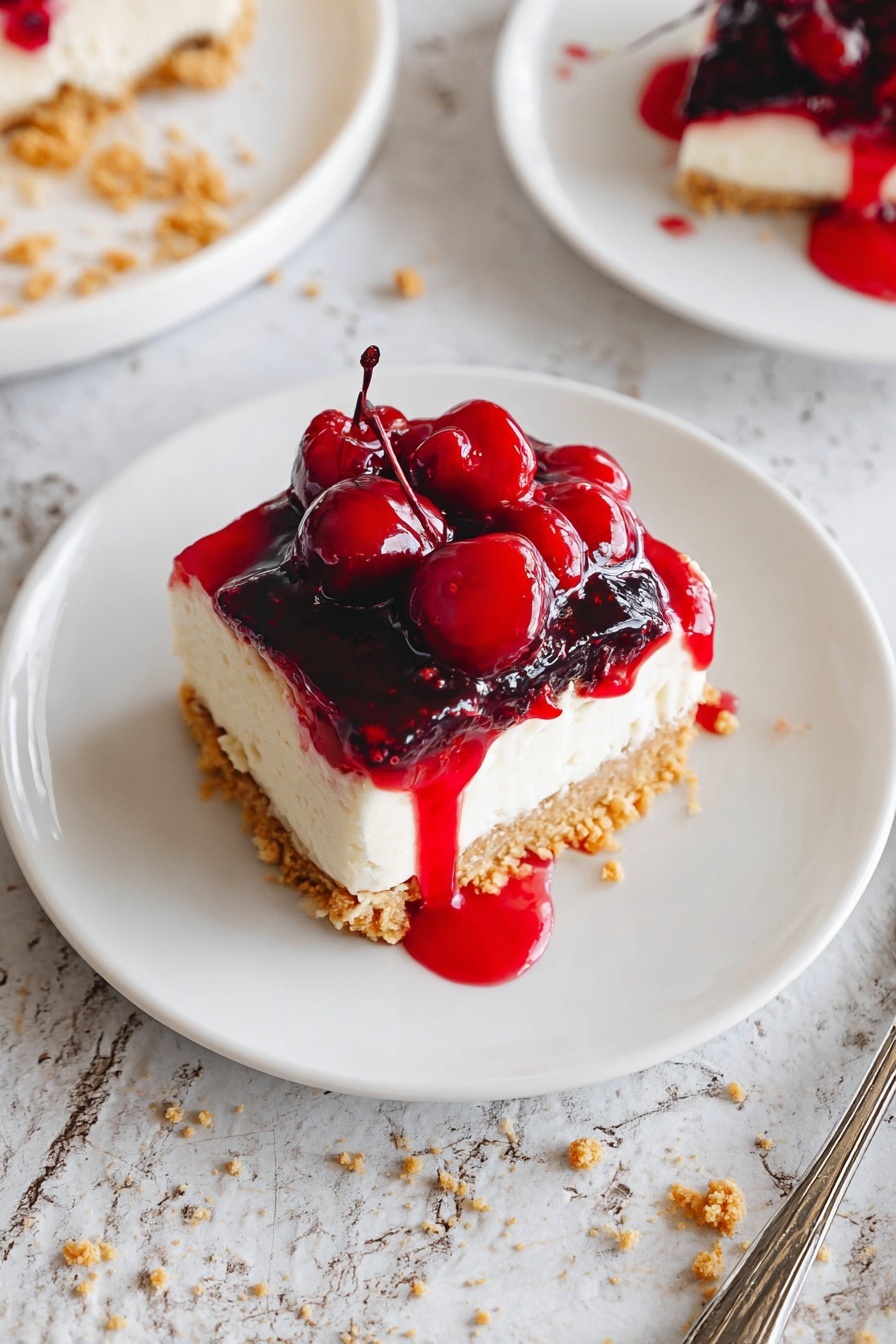
Imagine creamy, dreamy layers on a buttery, crunchy crust—that's exactly what this No Bake Cheesecake Bars Recipe delivers. It’s such a crowd-pleaser that’s both simple to make and perfect for those moments when you want a fuss-free dessert with maximum flavor.

Jump to:
Why You'll Love This Recipe
Let me tell you, this No Bake Cheesecake Bars Recipe has been a lifesaver for me whenever dessert needs to be ready fast but still tastes like it’s been lovingly slow-churned. It’s creamy, tangy, and sweet, with a crust that holds everything together perfectly.
- Super easy: No oven required, so you can make it even on a hot summer day or without heating up your kitchen.
- Versatile flavors: Using pie filling on top means you can switch it out for your favorite—cherry, blueberry, or peach.
- Perfect texture: The graham cracker crust offers the right crunch beneath the ultra-smooth cheesecake layer.
- Great for gatherings: Easy to slice into bars and serve, making it a no-fuss dessert for parties or weeknight treats alike.
Ingredients & Why They Work
The magic here comes from simple ingredients that pack a punch together. The graham cracker crumbs give you that classic cheesecake base, while cream cheese and whipped topping create an airy but creamy filling. The pie filling on top adds a jewel-like splash of sweetness and flavor.
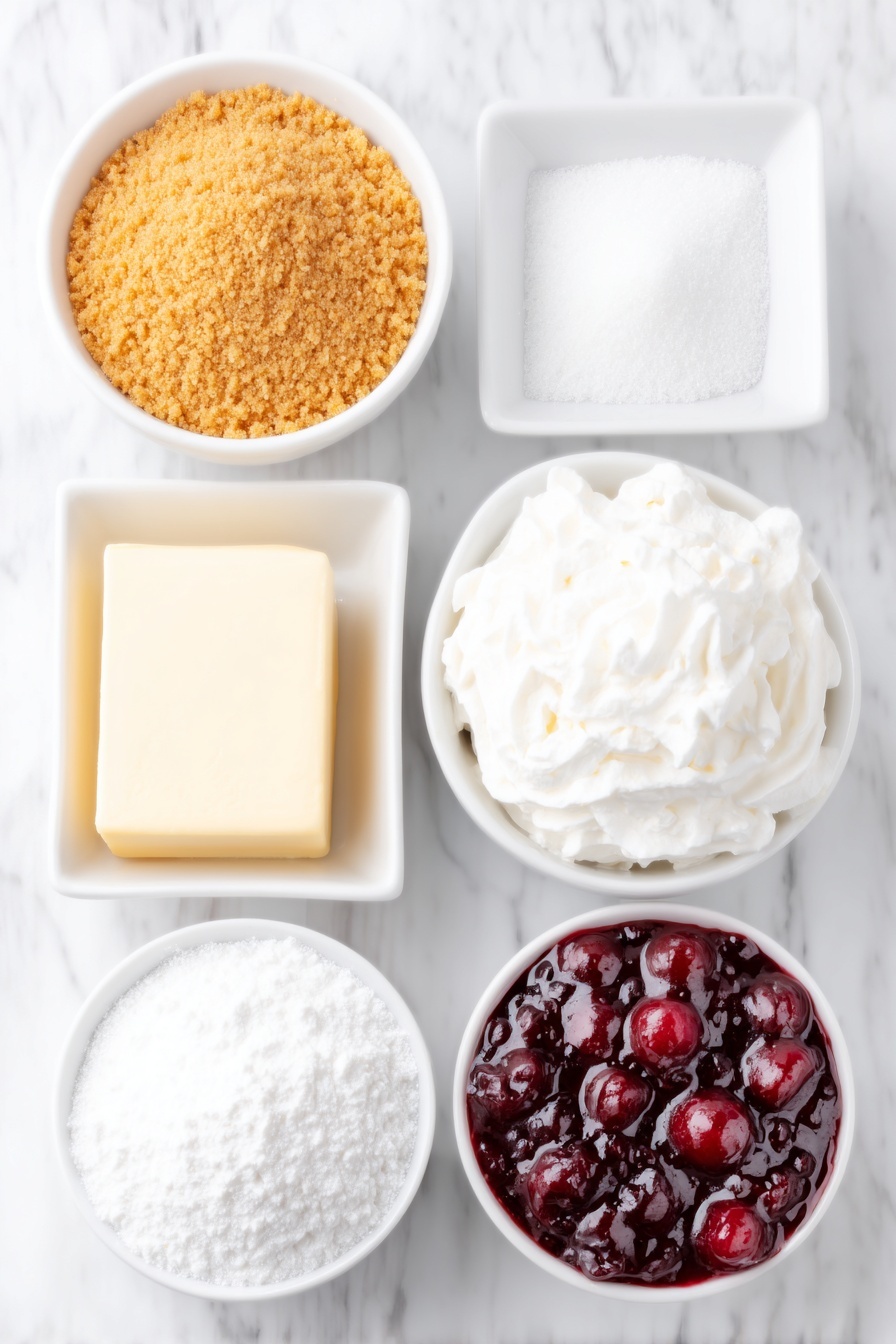
- Graham cracker crumbs: I like to make these fresh by crushing graham crackers myself—that extra crunch fares way better than pre-packaged crumbs.
- Salted butter: I always use salted for that little savory balance in the crust; unsalted works too, just add a pinch of salt.
- Sugar: Simple granulated sugar melts into the crust, adding just enough sweetness so it’s not bland beneath the filling.
- Cream cheese: Make sure it’s softened; this ensures a smooth, no-lump filling that spreads easily.
- Powdered sugar: The finer texture blends seamlessly into the cream cheese for perfect sweetness.
- Whipped topping: This keeps the filling light and fluffy, so the texture doesn’t feel heavy but still rich.
- Pie filling: You can pick any canned fruit filling—my favorites are cherry and blueberry because they’re vibrant and pair so well.
Make It Your Way
What I love most about this No Bake Cheesecake Bars Recipe is how easy it is to personalize. I often swap out the pie filling based on the season or occasion, and sometimes I’ll even skip the topping and add my own fresh fruit or drizzle.
- Variation: One time, for a Fourth of July barbecue, I layered half cherry and half blueberry pie fillings for a patriotic swirl—it was a hit!
- Dietary tweaks: You can switch whipped topping for coconut whipped cream to keep it dairy-free, and sugar substitutes work if you want to cut down on sweetness.
- Texture play: Crushed nuts or mini chocolate chips sprinkled in the crust add wonderful crunch and a surprise pop of flavor.
Step-by-Step: How I Make No Bake Cheesecake Bars Recipe
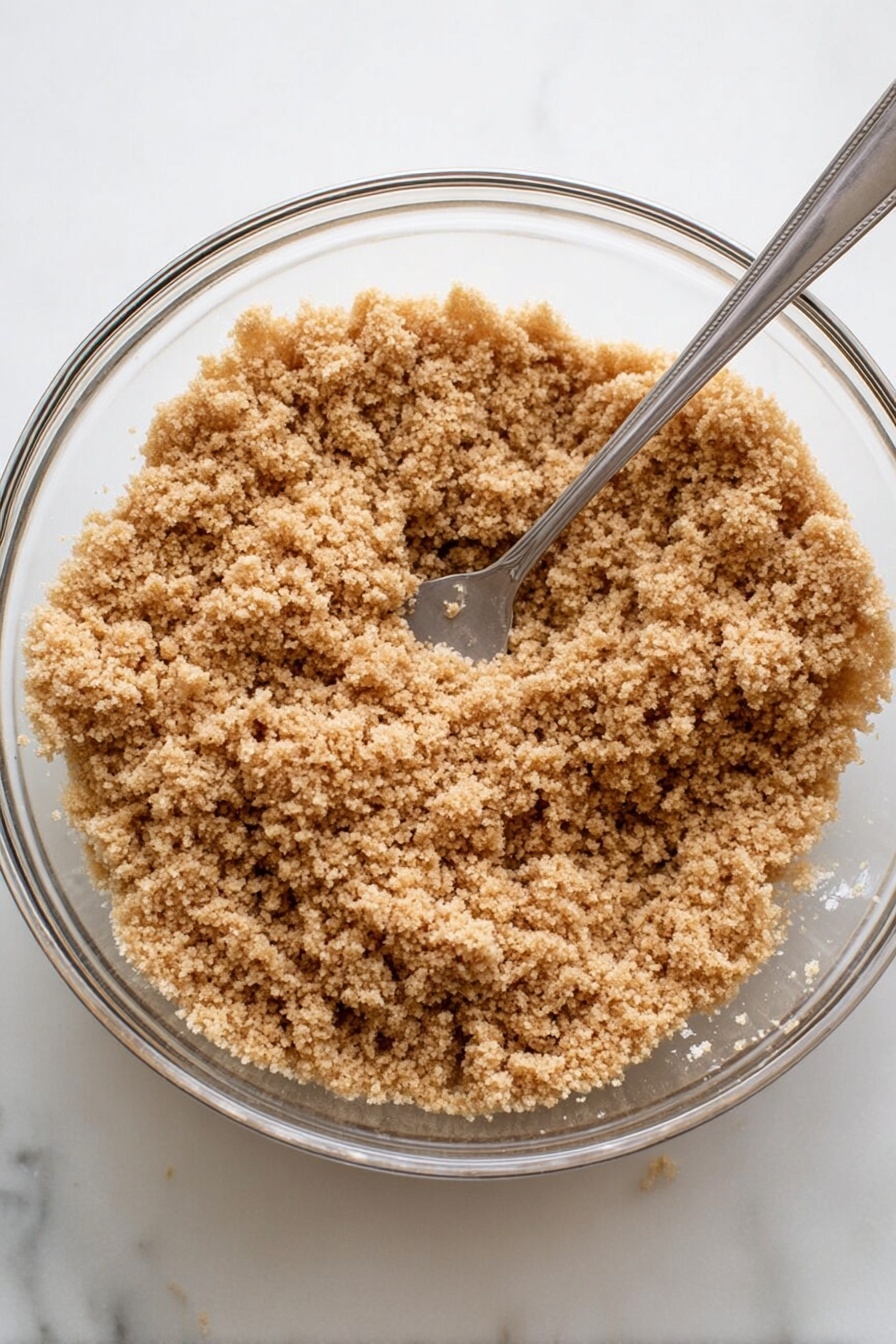
Step 1: Crafting the Perfect Crust
I start by crushing about 14 graham cracker sheets into fine crumbs—using a food processor makes this effortless. Then, I mix the crumbs with melted salted butter and sugar until every crumb glistens with butter. Press this mixture firmly into the bottom of a 9×13 inch pan. Don’t be shy about pressing down; a dense crust means the bars hold together better. Once pressed, pop it into the fridge while you move on to the filling. This chilling step helps the crust set so it stays crisp.
Step 2: Whipping the Cheesecake Filling
Next, soften your cream cheese well—room temperature is key here to avoid lumps. Beat cream cheese and powdered sugar together on medium speed until smooth and creamy. Then fold in the whipped topping gently, so you keep the light airiness. This filling might look simple but it’s utterly luscious and that fluffy texture is everything in this recipe!
Step 3: Assembling Your Dessert Layers
Spoon the cheesecake filling evenly over the chilled crust, smoothing out any lumps with a spatula. After that, spread your chosen pie filling over the top gently—trying not to swirl means you'll get those lovely distinct layers. Cover and refrigerate for at least 4 hours, but I usually let mine sit overnight to get perfectly firm bars.
Top Tip
From my experience, a few small details make all the difference in this No Bake Cheesecake Bars Recipe. Paying attention to ingredient temperature and layering technique really lifts it from good to wow.
- Softened Cream Cheese: Always take the cream cheese out about an hour before mixing; cold blocks will clump and ruin that smooth texture.
- Firm Crust Press: Firmly pressing the graham cracker mixture into the pan helps prevent crumbs from falling apart when you cut the bars later.
- Gently Fold Whipped Topping: Stir it in slowly instead of beating to keep the filling fluffy and light.
- Give it Time: Don’t rush chilling—setting it for at least 4 hours (or ideally overnight) yields the best slicing results and texture.
How to Serve No Bake Cheesecake Bars Recipe
Garnishes
I love topping these bars with a few fresh raspberries or sliced strawberries just before serving—it adds brightness and freshness. Sometimes I drizzle a little melted chocolate or caramel on top for extra indulgence. A sprinkle of chopped nuts gives a nice crunch contrast too.
Side Dishes
This dessert pairs wonderfully with a cup of strong coffee or a fruity iced tea. For summer dinners, I sometimes serve alongside fresh fruit salad or a scoop of vanilla ice cream to complement the rich cheesecake bars.
Creative Ways to Present
For parties, I like to cut the bars into small bite-sized squares and arrange them on a tiered stand, garnished with edible flowers and mint leaves—it turns a simple bar into an elegant treat. Using different pie filling flavors side by side also creates a colorful dessert platter that invites everyone to take a taste.
Make Ahead and Storage
Storing Leftovers
I store any leftover cheesecake bars in an airtight container in the refrigerator. They keep their texture beautifully for up to 4 days, though I’ll bet they rarely last that long in my house! Just keep them covered to avoid them picking up fridge odors.
Freezing
Freezing works nicely if you want to prepare in advance. Wrap the bars tightly in plastic wrap and foil, then freeze for up to 2 months. I thaw them overnight in the fridge before serving. Sometimes the crust softens up a bit, but the filling stays creamy and delicious.
Reheating
These bars are best served cold, so reheating isn’t really necessary. If you want to enjoy a softer bite, just leave them at room temperature for 15–20 minutes before serving. Otherwise, straight from the fridge is perfectly refreshing.


Leave a Reply